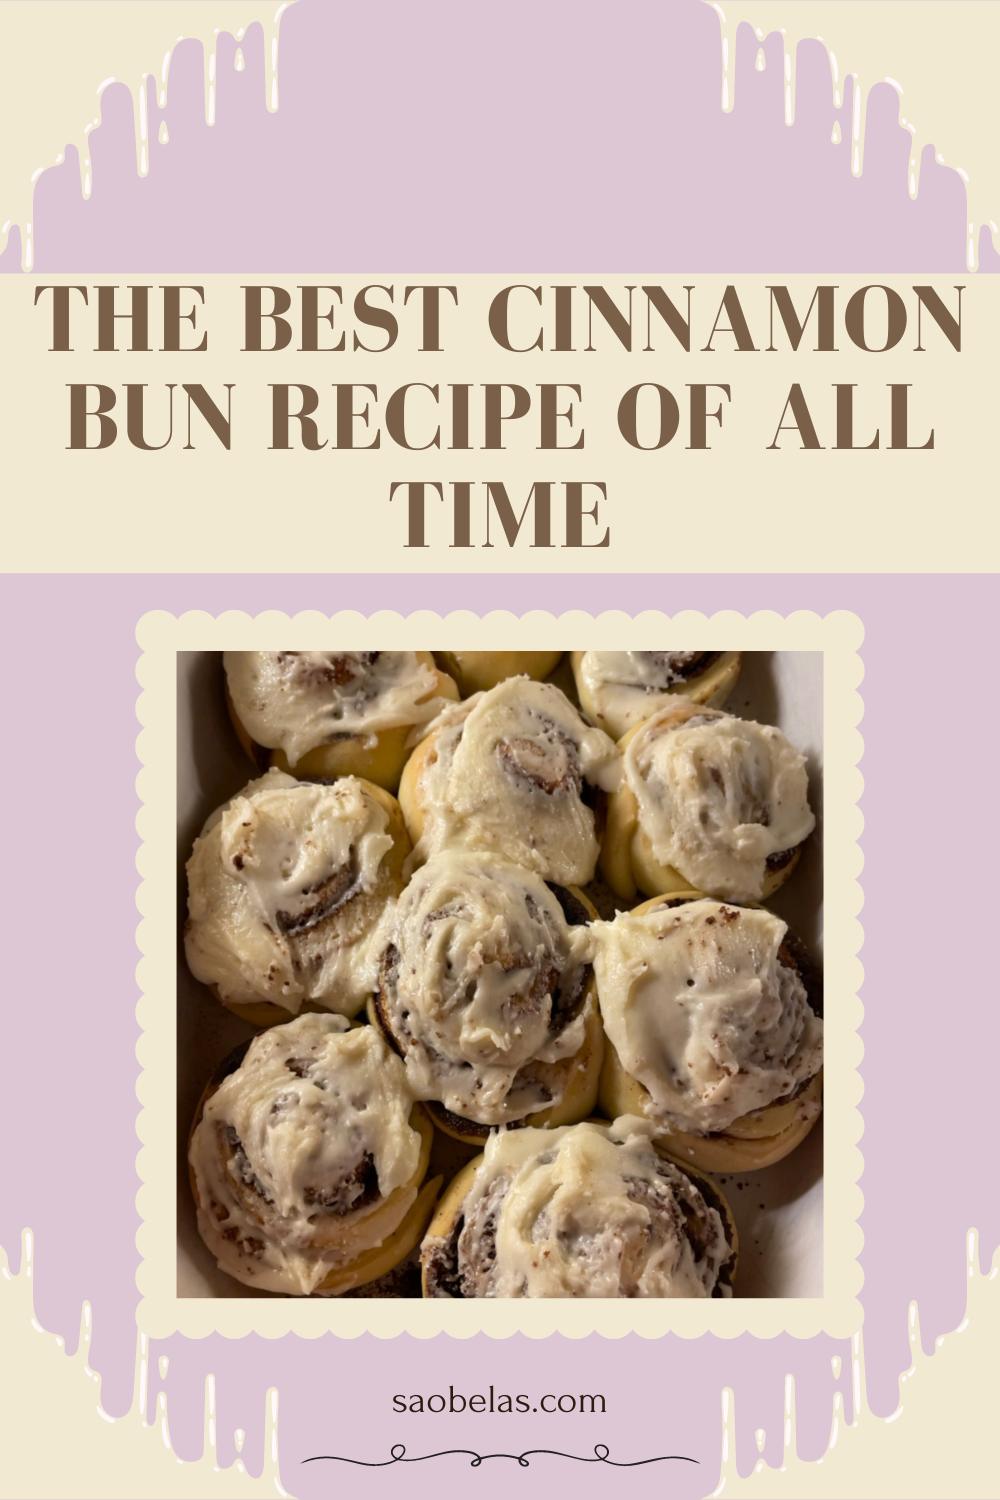
Whenever I ask my family what dessert I should make, without fail, they all say cinnamon buns! That’s how you know this recipe is worth the hype. The best part about cinnamon buns is the fact that it’s totally acceptable to eat these as a breakfast and what’s better than dessert for breakfast?
The best part about making cinnamon rolls is that you can break up the process over a period of time. You don’t have to make the dough, filling and back them all at once if you don’t have the time! Instead what I do is I break up the process into 2 days. On day 1 I’ll make the dough and then let it rise overnight. Then on day 2 I’ll roll out the dough, make the filling, and assemble the cinnamon roll and then leave them out to rise again for a good chunk of the day. Later that day (usually when I’m ready for my delicious dessert), I’ll pop them into the oven, slather them with a generous amount of frosting and there you go!

Every time I start baking something I just hear my mom’s voice from the back of my head saying “always make sure you have everything before you start baking!” Lucky for you, cinnamon rolls don’t require any extravagant ingredients, most of them you probably already have at home (so you really have no excuse to not make these.)

First you need to dissolve the yeast in a bowl with the warm milk and a teaspoon of sugar. I usually just take the teaspoon of sugar from the 1/2 cup that we will be using in the next step. You will know if your yeast is good if your mixture starts to foam. After about 10 minutes, if your mixture has not foamed then your yeast is dead and your mixture is no good.
Assuming your mixture bloomed we can move on to the next step. Warning: you will need to bring out your stand mixer for this so if you don’t have one at home head over to amazon and buy this KitchenAid Stand Mixer which I swear by! Coincidentally, it is also featured on our list of Top 10 Gifts to buy Mom for Christmas! So after you have brought out the mixer (or after you bought the mixer and it arrived) you can add the sugar, butter, salt, eggs and flour to the bowl and mix everything until it’s well combined. Then, add the yeast mixture. Let the mixer do its thing until the dough forms and it pulls away from the sides of the bowl.
Congratulations! You have successfully created the dough (hopefully). You can now take the dough you just made and put it in a bowl that is lightly coated with a little bit of oil and cover it with plastic wrap. The oil is important so it minimizes the friction between the dough and the bowl and it can easily rise. You can then place the bowl with your dough in a warm place and leave it to rise for at least an hour but I like to leave it overnight.
Now for the delicious part. First prep your 9×13 inch pan with cooking spray and set aside. Then, in a bowl, combine the brown sugar and cinnamon and set aside as well.
Grab your (hopefully a lot larger) dough and roll it out on a floured surface to form a rectangle that’s about 15 inches long and 12 inches wide. Aim to have the dough be 1/4 inch thick. With your softened butter, smear it over the dough making sure to coat all of it. Now you can sprinkle your cinnamon sugar mixture and lightly press it down into the butter.
This next step is the trickiest step in the whole recipe but don’t worry, you can do it. From the long side of your rectangle, carefully start rolling the dough as evenly as you can. Once you reach the opposite edge, you should have one long cinnamon roll-log.
Now to cut the log into rolls, I like to use dental floss but you can use a knife or even a thin piece of string. Using the dental floss, you place the floss under the log and wrap it around until it cuts through dough. Do this throughout the entire log which should be about 12 cinnamon buns. Place the buns in your prepared pan and over with plastic wrap. Once again, place your buns in warm place for at least 30 minutes so they can rise once more.
Once you think your buns are big enough and you can’t wait any longer, preheat your oven to 350°F. Bake your buns for about 20 minutes or until they are light golden brown.
While your buns are baking we can start preparing the frosting. In a bowl, mix the butter until it is becomes fluffy. Slowly add in the powdered sugar making sure to scrape down the sides of the bowl so everything is incorporated.
Once combined, add in the vanilla and milk until the frosting spreadable but still thick.
You have finally made it. All of your hard work is about to be all worth it when you try these. but first we need to add that frosting to the buns.
Once the buns are done baking, allow them to cool for about 10 minutes before adding a generous amount of frosting to each roll. After this the only thing left to do is eat and enjoy!

Check out more of our recipes on our social media accounts!
Have you tried this recipe? Let us know what your thoughts are below!